Installation and Usage
SMODERP has been adapted to work seamlessly with various Geographic Information System (GIS) platforms. Instalation for QGIS (https://qgis.org/), GRASS GIS (https://grass.osgeo.org/), and ArcGIS Pro (https://www.esri.com/en-us/arcgis/products/arcgis-pro/overview) is decribed below.
QGIS Plugin
In QGIS, the plugin repository is a central storage location where users can access and manage plugins that extend the functionality of the QGIS application. SMODERP2D may be acessed from this repository.
Installation instructions
-
Install QGIS: https://www.qgis.org/en/site/forusers/download.html
- Suggested version: 3.34.10/3.38.2 or higher, see known issues for details
-
Check button
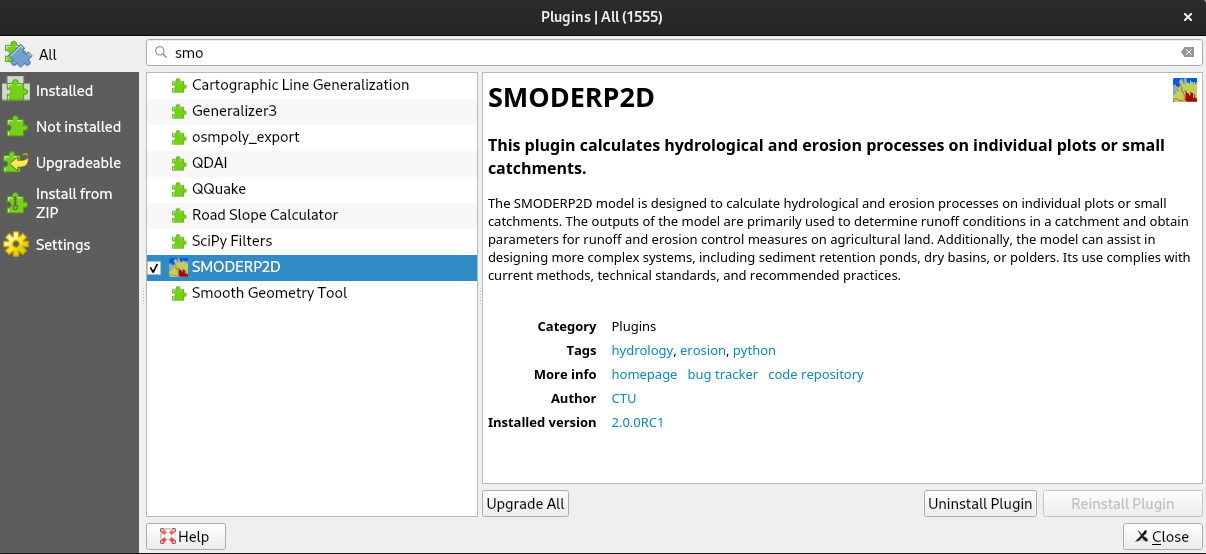
Show also Experimental Pluginsin Plugin/Settings
- Install SMODERP2D plugin from QGIS plugin repository
Open the plugin from the menu Plugins ➤ SMODERP2D or from the
toolbar ![]() .
.
Usage
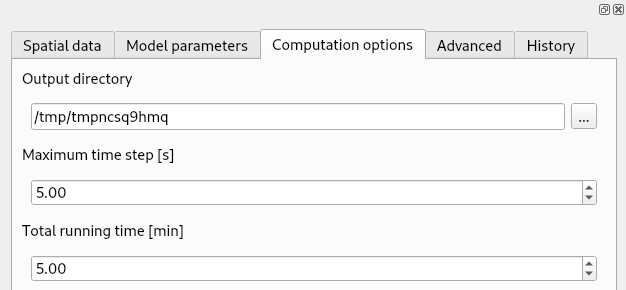
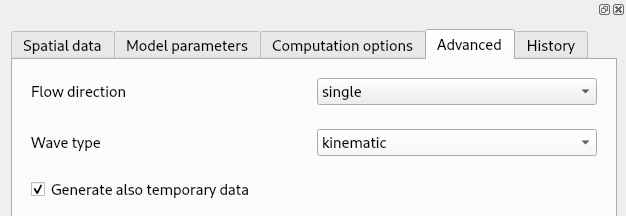
The plugin consists of four tabs:
- Spatial data for defining input spatial GIS layers
- Model parameters for defining input parameters
- Computation options for defining various options including target directory where computation results will be stored
- Advanced for defining advanced options
- History runs are stored in History tab
Known issues
Only for QGIS 3.34.9/3.38.1 or lower: On MS Windows QGIS plugin may
suffer by poping-up windows when starting computation. It is caused by
a bug in GRASS 8.3. This issue can be solved by copying core.py
file available from GitHub
repository
to a GRASS target directory which is typically located in:
C:\Program Files\QGIS 3.**.*\apps\grass\grass83\etc\python\grass\scriptin the case that QGIS has been installed by standalone installer, orC:\OSGeo4W\apps\grass\grass83\etc\python\grass\scriptin the case that QGIS has been installed by OSGeo4W network installer.
GRASS GIS Addon
Installation instructions
- Install GRASS GIS: https://grass.osgeo.org/download/
- Download latest SMODERP2D version: https://github.com/storm-fsv-cvut/smoderp2d/releases
- Install GRASS Addon:
g.extension extension=r.smoderp2d url=/path/to/smoderp2d/bin/grass/r.smoderp2d - Install SMODERP2D package:
python3 -m pip install smoderp2d - Launch GRASS Addon:
r.smoderp2d
Usage
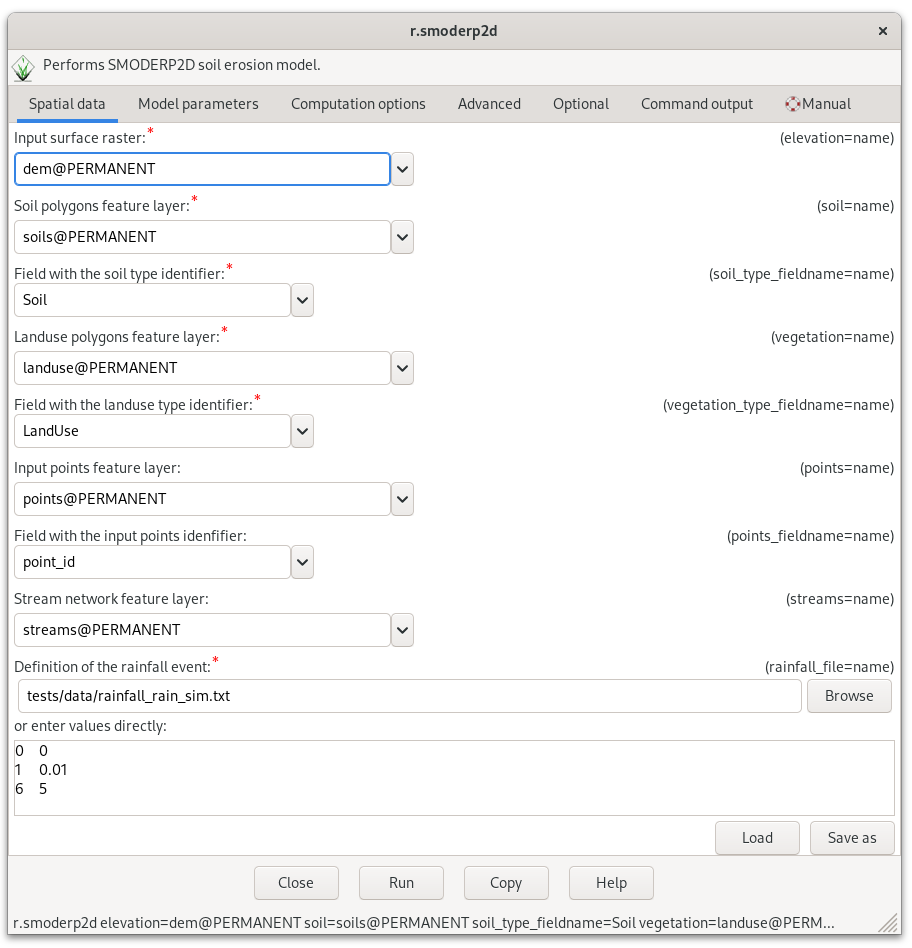
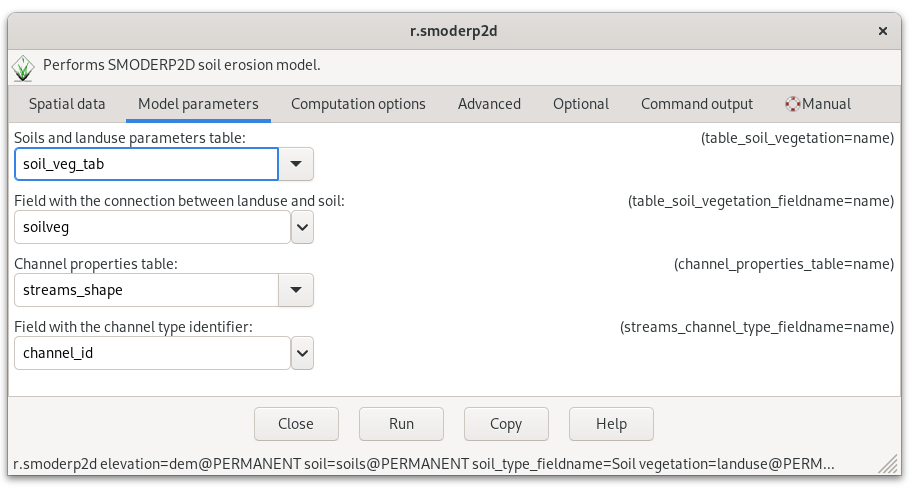
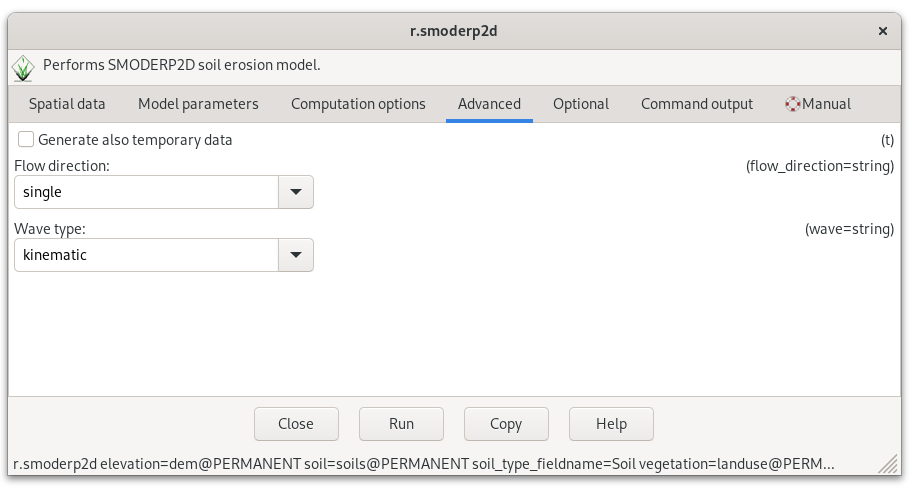
GRASS Addon is organized into several tabs similar to the QGIS plugin:
- Spatial data
- Model parameters
- Computation options
- Advanced
Compared to the QGIS plugin, the GRASS addon has a few more tabs:
- Optional for GRASS-related global options
- Command output for messages printed by running command
- Manual for GRASS Addon documentation
ArcGIS Pro Toolbox
In the ArcGIS environment are a toolboxes a collection of geoprocessing tools. SMODERP are developed as extend tolbox of the ArcGIS software.
Installation instructions
- Download ArcGIS Pro: https://pro.arcgis.com/en/pro-app/latest/get-started/download-arcgis-pro.htm
- Download latest SMODERP2D version: https://github.com/storm-fsv-cvut/smoderp2d/releases
- Open ArcGIS Toolbox located in
bin\arcgis\SMODERP2D.pyt
Usage
Screen of ArGIS Pro - SMODERP Toolbox
Computation options and Advanced menu
History runs are stored in History of ArcGIS Pro project.
Batch processing
First, download SMODERP2D from GitHub repository https://github.com/storm-fsv-cvut/smoderp2d.
Batch processing may be run as a single process or multiple processes defined by a CSV file.
To run batch process GRASS GIS is required.
Installation Note
Note that on MS Windows GRASS GIS is part of the QGIS installation. In this case there is no need to install GRASS GIS separately.
You only need to adjust the installation path in
tests/batch/init_windows_env.bat file based on how QGIS is installed.
-
If QGIS is installed using QGIS standalone installator, set
INSTALL_DIRwhere QGIS is installed, e.g.:set INSTALL_DIR=C:\Program Files\QGIS 3.36.2\ -
If QGIS is installed using OSGeo4W network installator, set
INSTALL_DIRwhere OSGeo4W is installed, e.g.:set INSTALL_DIR=C:\OSGeo4W
You may also need to adjust GRASS version (in example below GRASS 8.3 is expected to be installed):
set GRASS_VERSION=83Single process
Open batch_process_single.bat (or batch_process_single_linux.sh on
GNU/Linux) located in tests/batch directory and adjust input
parameters. Then run the script.
Multiple processes
Multiple processes may be defined by a CSV file, for example see
tests/batch/batch_process.csv file.
Note
If the content of the first cell starts with #, the process is skipped.
Adjust parameters in your CSV file and run batch_process_csv.bat (or
batch_process_csv_linux.sh on GNU/Linux) located in tests/batch
directory.
Tip
Processes may be run in parallel. Number of workers is defined in the script:
--workers 1Note that for parallel processing (ie. number of workers > 1)
Joblib Python package
is required. The package may be installed on Windows by
install_joblib_windows.bat located in tests/batch.
WARNING: parallel processing is experimental and may have various problems.

